2017-2021 Honda Civic hatchback
How to upgrade the stereo system in your Civic hatchback

In brief: This Crutchfield Research Garage article gives you an overview of your Civic's stock stereo system and your aftermarket upgrade options. We'll tell you all about:
- The factory stereo system
- Removing the factory radio
- Removing the factory speakers
- Adding more bass
- Other options for your Civic hatchback
Then, use our vehicle selector to find the gear that will fit your Honda.
Overview of the Honda Civic Hatchback
It’s okay to show up late to the party if you’re cool. The 2017 Civic hatchback arrived a year later than its coupe and sedan siblings, but since it combines everything that’s good about a Civic with a gaping hatch that’ll swallow almost as much as a small SUV, it’s definitely cool. Think of the Civic hatch as the vehicular equivalent of the friend who gets to the party two hours late, but shows up with extra pizza and a keg.
The hatchback is that cool and that fun. And if you step up to the high-performance Type R, you gain the ability to straighten curves, flatten hills, and warp the laws of space and time. Well, kind of. Either way, it’s one hot hatch. Heck, even the more sedate Civics are fun to drive. All in all, it’s quite a package.
The stock stereos aren’t terrible, which is good, because upgrading some things is easier than others. Whatever system you’re starting with, though, aftermarket stereo gear is a good way to make a great car even better.

Here's a close look at the premium 7" LCD receiver (Crutchfield Research Photo)
The factory stereo system
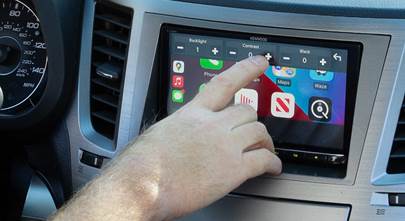
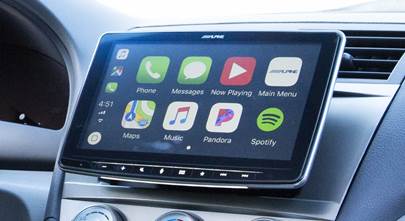
The Civic’s stock audio systems consist of a base system with four speakers and a Premium Audio system with ten. The base system with the 5" receiver is pretty basic, as you’d imagine, but the premium system sports a 7" receiver and includes SiriusXM and HD Radio reception, plus Android Auto and Apple CarPlay™ compatibility.
Wiring harness adapters and dash kits are available for both receivers, and there are plenty of single-DIN (2” tall) and double-DIN (4” tall) receivers that will fit. You’ll lose the factory AUX and USB connections, plus satellite radio, but you can regain all of that with the right aftermarket radio.
In Civics equipped with the factory 7" LCD screen, you’ll need to make the antenna connection at the factory tuner behind the rear trim panel on the passenger's side of the car. The kit manual has instructions on how to do do this.
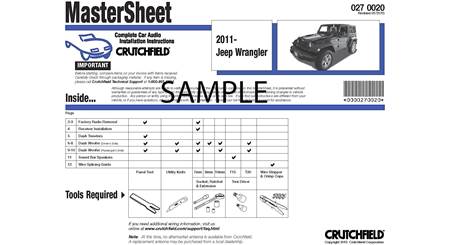
If your car has a factory amplifier, you’ll need to route a cable to the amp location behind the passenger’s side kick panel. We'll show you how to reach the amp in your Crutchfield MasterSheet.
One further note: The aftermarket kit will not retain the Rev Match Control System (which automatically calculates the optimum engine revs for downshifting) in Civic Type R and Si models.

Both the standard 5" LCD (shown here) and the premium 7" model can be replaced by a variety of single-DIN or double-DIN receivers (Crutchfield Research Photo)
Removing the factory radio
The Civic'sreceiver is pretty easy to remove, so it’s a good project for the beginning car audio DIY-er. You’ll have a better shot at eventually becoming an experienced car audio DIY-er if you set the parking brake and disconnect the negative battery cable to prevent any electrical short or accidental airbag deployment, so do those things. Once that’s taken care of, you’re ready to begin.
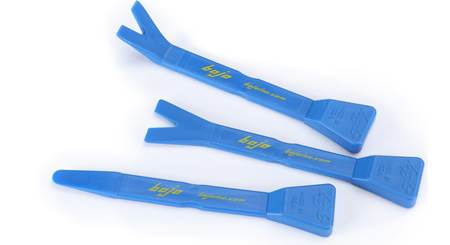
Starting at the rear edge, use a panel tool to pry up the driver's side console trim strip to release four clips. Remove the strip, then remove the exposed Phillips screw underneath. Next, you’ll do the same thing with the trim strip on the passenger’s side.
Pry out the climate control panel to release four clips, then wrap the panel in a clean shop cloth and place it on the console without disconnecting the harnesses. Remove the two Phillips screws exposed by removal of the climate control panel, then pull the receiver toward the rear of the car to release the retaining clips, disconnect the harnesses, and remove the receiver.
Detailed stereo and speaker removal instructions
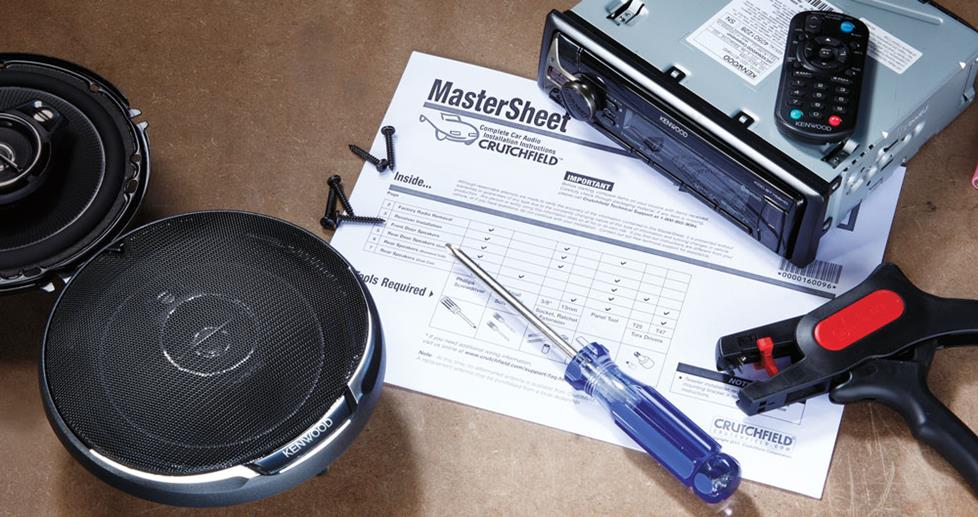
You’ll save money on the dash kit and wiring harness adapter needed to install a new receiver in your Civic hatchback. Please note that the wiring harness interface we include does not provide the reverse trigger needed for a backup camera. You'll have to have to tap into the car’s analog reverse wire to get that parking lot view you want.
The dash kit and harness interface include instructions, so follow those to prepare the new receiver for installation. Once it’s secured and you’ve tested it out, you’ll be ready to start putting the dash back together by doing the disassembly process in reverse. All those details (basically, what’s above) can be found in the Crutchfield MasterSheet included free with your Crutchfield stereo purchase.
Tools needed: Panel tool, Phillips screwdriver, clean shop cloth
Read our Car Stereo Buying Guide for shopping tips and advice.
Shop for car stereos that fit your Honda Civic
Steering wheel audio controls
In most cases, it's reasonably easy to retain your Civic's steering wheel audio controls when you install a new stereo. When you enter your vehicle information, our database will choose the adapter you need to make your factory steering wheel controls work with a compatible aftermarket receiver.

Replacing the stock speakers will improve the sound in any Civic hatchback (Crutchfield Research Photo)
Removing your Civic's factory speakers
The number of speakers in your Civic hatchback depends on the factory stereo system it came with. Removal and replacement is generally within the capabilities of a reasonably skilled car audio DIY-er, and if you have questions during your installation, remember that your Crutchfield stereo or speaker purchase comes with free tech support for the life of the gear.
Please note that when you’re replacing the Premium Audio speakers, you’ll need to bypass the factory amplifier and replace the low-impedance stock speakers with standard 4-ohm aftermarket models. You can also add an aftermarket amp. Either way, you’ll want to prevent overheating or other damage to your new receiver, so if you have questions, talk to a Crutchfield advisor before you order anything.

The center dash speaker is very easy to remove and replace (Crutchfield Research Photo)
Center dash speaker
The Premium Audio system’s 3-1/2” center dash speaker is pretty easy to deal with and there are some very nice aftermarket replacement options available for your Civic.
Starting at the rear edge, use a panel tool to pry up the center dash grille and release six clips, then disconnect the harness and the remove speaker/grille assembly. Remove the two Phillips screws securing the speaker to the grille and remove the speaker.
Connect the speaker wiring adapter of the replacement speaker to the vehicle’s speaker harness, then secure the new speaker to grille. Be sure to test it quickly and make sure it’s working before you move on.
Tools needed: Panel tool, Phillips screwdriver

You'll need to remove the door panels to replace the front door speakers (Crutchfield Research Photo)
Front door speakers
Your Civic’s front door speakers/woofers, regardless of stock system, are 6-3/4” models that can be replaced by 6-1/2” or 6-3/4” aftermarket speakers. Because of the unique dimensions of the stock door speakers, you’ll need mounting brackets to install the new ones. We’ll include them with your Crutchfield speaker purchase, along with the wiring harness adapter you’ll need to connect them to the factory wiring.
You have to remove the door panels to get at the speakers, and that process begins when you use a panel tool to pry up the power switch panel (start at the rear edge) to release eleven clips. Disconnect the harnesses and remove the switch panel, then remove the exposed Phillips screw.
Use your panel tool to pry out all sides of the door panel to release thirteen clips, then disconnect the harness and remove the door panel. Be sure to store it someplace safe and clean while you continue working.
With the speaker exposed, you can now remove one Phillips screw at the top of the speaker, then pry out the top of speaker to release one clip, disconnect the harness, and remove the speaker. To install your new speakers, follow the instructions included with the bracket and the wiring harness adapter, then secure them to the door.
Once you’re done installing your new speakers, be sure to test them out before putting the doors back together. Check to make sure the door locks and releases are working as they should and also make sure the windows are working properly.
Tools Required: Panel tool, Phillips screwdriver

Replacing the stock tweeters will enhance your soundstaging (Crutchfield Research Photo)
Front sail panel tweeters
The front sail panel tweeters, found in upper-level models only, are reasonably easy to deal with, especially since you’re well on your way once you’ve removed the door panels. Pry off the sail panel to release two clips, then disconnect the harness and remove the sail panel. Pry the tweeter out of the sail panel to release three clips, then remove the tweeter.
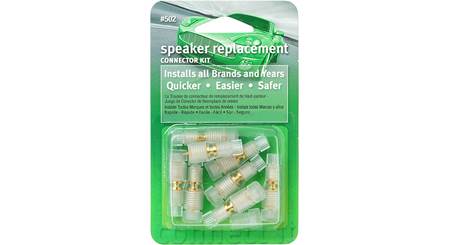
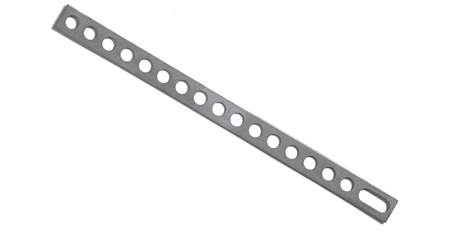
Once the tweeter is removed, we recommend flush-mounting an aftermarket tweeter to the opening in the sail panel. You’ll need to use hot glue, silicone, or our universal backstraps to secure them, and you’ll also need Posi-Products connectors to connect them to the factory wiring. And, again, be sure to check the impedance to make sure you’re ordering the right speakers for your new set-up.
Tools Required: Panel tool, small flat blade screwdriver, Phillips screwdriver

Removing the rear door speakers is pretty simple. You'll need mounting brackets to install the new ones. (Crutchfield Research Photo)
Rear door speakers
In Civics equipped with the base system, you’ll find 6-3/4” full-range speakers in the rear doors. The upper-level system features 6-3/4” woofers and 1.674” tweeters. You’ll need mounting brackets to install the new woofers/speakers, and we’ll include those and the wiring harness adapter you’ll need to connect them to the factory wiring with your Crutchfield speaker purchase.
In the case of the tweeters, just like up front, secure them with hot glue, silicone, or our universal backstraps. You’ll also need Posi-Products connectors to connect them to the factory wiring.
Getting to the speakers is very similar to the process used on the front doors. Starting at the front edge, pry off the sail panel to release one clip and remove the sail panel. Pry up the power window switch panel to release eight clips, then disconnect the harness, remove the switch panel, and remove the now-exposed Phillips screw.
Next, pry around all sides of the door panel to release twelve clips, then disconnect the tweeter harness, remove the door panel, and store it somewhere safe.
Pry the tweeter out of the mounting ring (releasing three clips), then remove the tweeter. To remove the lower speaker, remove one Phillips screw securing the top of the speaker, then lift the speaker, disconnect the harness, and remove the speaker.
Tools needed: Panel tool, small flat blade screwdriver, Phillips screwdriver

Getting to the rear pillar speakers takes a little time, but once you're in there, the speakers are easy to remove and replace (Crutchfield Research Photo)
Rear pillar speakers
Civics equipped with the Premium Audio system will have 3-1/2” speakers in the rear pillars. Removing and replacing these speakers is a little bit busy, but it’s nothing the average car audio DIY-er can’t handle.
Here, as with the rest of the tweeters, you’ll need to use glue, silicone, or our universal backstraps to secure the new speakers. You’ll also need Posi-Products connectors to connect them to the factory wiring.
Complete, illustrated instructions can be found in your Crutchfield MasterSheet.
Tools needed: Panel tool, Phillips screwdriver

The stock subwoofer takes some getting-to, but it's still a good project for the car audio DIY-er (Crutchfield Research Photo)
Rear side subwoofer
The Premium Audio system’s 8" subwoofer can be replaced with a nice assortment of aftermarket models, but the general difficulty of the job (which isn’t really difficult) will depend on the new sub’s bolt hole pattern
In some cases, the mounting holes line up perfectly with the car’s factory holes. In that case, life is simple and wonderful. In others, though, the holes don’t line up, and in that case, you’ll need to drill new ones. This is still pretty simple and, if you have a cordless drill that you really should use more, potentially somewhat wonderful. The key is to remember that you’re drilling a hole in your car, so work carefully, pay attention to what’s near the area you’re drilling into, and always, always wear eye protection.
The step-by-step guide to removing the panels and pieces back here can be found in your Crutchfield MasterSheet. And if you have questions, our tech experts are only a phone call away.
Tools needed: Panel tool, deep socket 10mm socket, ratchet and extension, #2 & #3 Phillips screwdrivers
Read our Car Speakers Buying Guide for more information.
Shop for speakers that fit your Honda Civic

There's a decent amount of room for a sub box in the Civic hatchback (Crutchfield Research Photo)
Adding bass to your Civic hatchback
The Civic hatchback is a well-designed car with plenty of practical space for important things like cargo and subwoofer boxes. You'll have a 40” W x 17” H x 31”/34” D space to work with.
If you’re concerned about everyday human things like cargo and luggage, you can go with a powered subwoofer that’ll take up less space and fill out your music quite nicely.
Learn more about building a bass system in our Car Subwoofer Buying Guide.

Your custom-fit WeatherTech floor liners will look as good in your Civic as they do in this Lexus.
Other options for your Civic hatchback
Here are some other cool upgrade ideas for your Honda Civic hatchback.
Floor mats
It's easier than you think to mess up your Civic's comfy interior while you're going about your daily business. Floor mats from WeatherTech will help protect your floors from dirt and damage.
Addressing the amp
As noted above, when you replace the Premium Audio speakers, you'll need to bypass the factory amplifier and replace the low-impedance stock speakers with standard 4-ohm aftermarket models. Or, you can add an aftermarket amp. You can learn more about adding amps to your system in our Car Amplifier Buying Guide.
Dynamat
The Dynamat Xtreme Door Kit is the perfect way to seal in sound. This heavy-duty insulating material is easy to install, and it really makes a difference. One kit will take care of your Civic's front doors. If you install a big subwoofer box, you might want to line the rear hatch area as well.
Remote start and security systems
Adding remote start capability to your vehicle lets you warm it up in the winter or cool it down in the summer. We ask that you call to order so that we can make sure you get the right harness for your ride.
You can also talk to your Crutchfield Advisor about a security system. They’re not as easy to install (we usually suggest letting a professional do the job), but we can help you choose a system that’ll work in your Civic.
Let's get started!
Ready to shop? Use our vehicle selector to find the gear that will fit your car or truck. If you have questions, give us a shout via phone, chat, or email





Comments (0)
Please share your thoughts below.