


2015-2020 Chevrolet Suburban and Tahoe, GMC Yukon and Yukon XL
How to upgrade the stereo system in your Suburban, Tahoe, or Yukon

In brief: This Crutchfield Research Garage article gives you an overview of your truck's stock stereo system and your aftermarket upgrade options. We'll tell you all about:
- The factory stereo system
- Removing the factory radio
- Removing the factory speakers
- Adding more bass
- Other options for your Suburban, Tahoe, or Yukon
Then, use our vehicle selector to find the gear that will fit your Chevy or GMC.
Overview of the Suburban, Tahoe, and Yukon
Small and midsize SUVs are pretty much everywhere these days, but as popular and practical as they are, there are those who need more — as in more room, more seats, and more towing capacity. When more is required, so is a trip to the Chevy or GMC dealership.
Available in Large or Extra Large, these SUVs are big, roomy, and powerful, just like they're supposed to be. And as tough as they are, there are plenty of available luxury touches that’ll make you forget just how capable they are. If you have people to carry, cargo to move, and/or something to tow, a Suburban, Tahoe, or Yukon can get the job done.
The factory stereo systems also get the job done, but that's about it. If you're serious about sound, you’ll need to install some aftermarket gear. In this article, we’ll take a look at what you can do and how it'll get done.

The 8" LCD is very nice. Removing it is very hard. (Crutchfield Research Photo)
The factory stereo system
The base radio is a 4.2" LCD, while the upgrade is an 8" LCD. Most Suburban and Yukon buyers opted for the upgraded systems, which topped out with a Bose audio system with more speakers and a center console subwoofer. Depending on how many boxes were checked on the order sheet, the Suburban/Yukon could also be had with a rear-view camera, various safety warnings and sensors, and rear seat DVD players.
Though the premium factory systems were decent enough, these big SUVs offer a lot of room for improvement – literally. Replacing the stock receiver is hard and replacing the Bose subwoofer is even harder, but new speakers can add a lot more volume and clarity to your music. Read on to lean more about what you can do and how you can do it yourself.
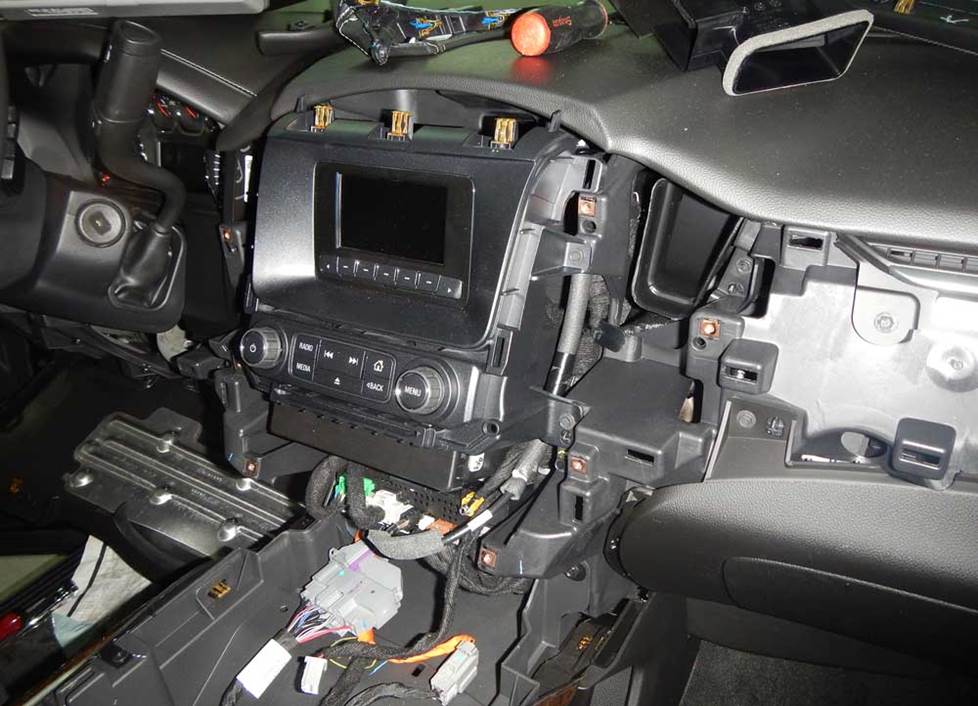
Aaaand we're still not done.... (Crutchfield Research Photo)
Removing the factory radio
Can the factory radios be removed? Yes, and we can say that with confidence because we’ve done it. Is it easy? No. No, it is not. There aren’t any ridiculously difficult steps in the process, but there are a lot of steps. A lot of steps.
We’ll detail all of them in the illustrated Crutchfield MasterSheet included with your stereo purchase, and when you give that a read, you’ll see that you’ll be removing a lot of parts, panels, and pieces along the way. This is do-able for the DIY-er, but you’ll need to work carefully, keep all the panels and hardware organized, and stay patient.
Detailed stereo and speaker removal instructions

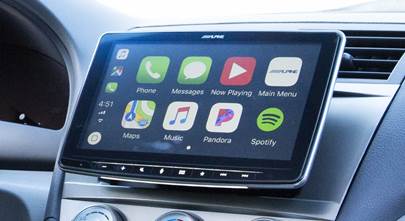
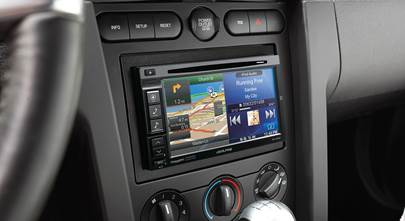
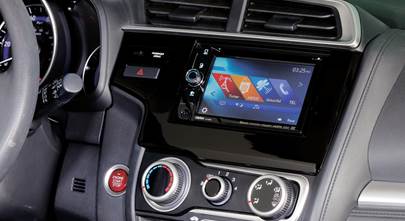
Whether you decide to do this yourself or let a professional installer handle it, you’ll have a nice selection of single-DIN (2" tall) and double-DIN (4" tall) aftermarket receivers to choose from. When you replace the factory radio, you'll lose the factory nav system and the factory satellite radio capability. Both of those can be replaced easily enough with the right aftermarket receiver. And your Crutchfield stereo purchase also comes with a nice discount on the dash kit and wiring harness you’ll need to install said receiver.
Depending on how your SUV is equipped, there are some other important details that you’ll want to know before you order your new stereo. You can see all of those, plus the stereos that fit, when you enter your vehicle information.
Tools needed: Panel tool, Torx T-15, 7mm socket, ratchet and extension
Read our Car Stereo Buying Guide for shopping tips and advice.
Shop for car stereos that fit your Chevrolet Suburban LS
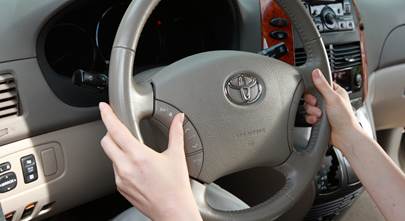
Steering wheel audio controls
It's relatively easy to retain your truck's steering wheel audio controls when you install a new stereo. When you enter your vehicle information, our database will choose the adapter you need to make your factory steering wheel controls work with your new receiver.

Upgrading the speakers will really boost the sound in your Suburban, Tahoe, or Yukon (Crutchfield Research Photo)
Removing the factory speakers
If you decide that upgrading the radio is a bit too much work (at the moment, anyway), you can still upgrade your sound. New speakers will improve the sound, even if you are sticking with the factory radio.

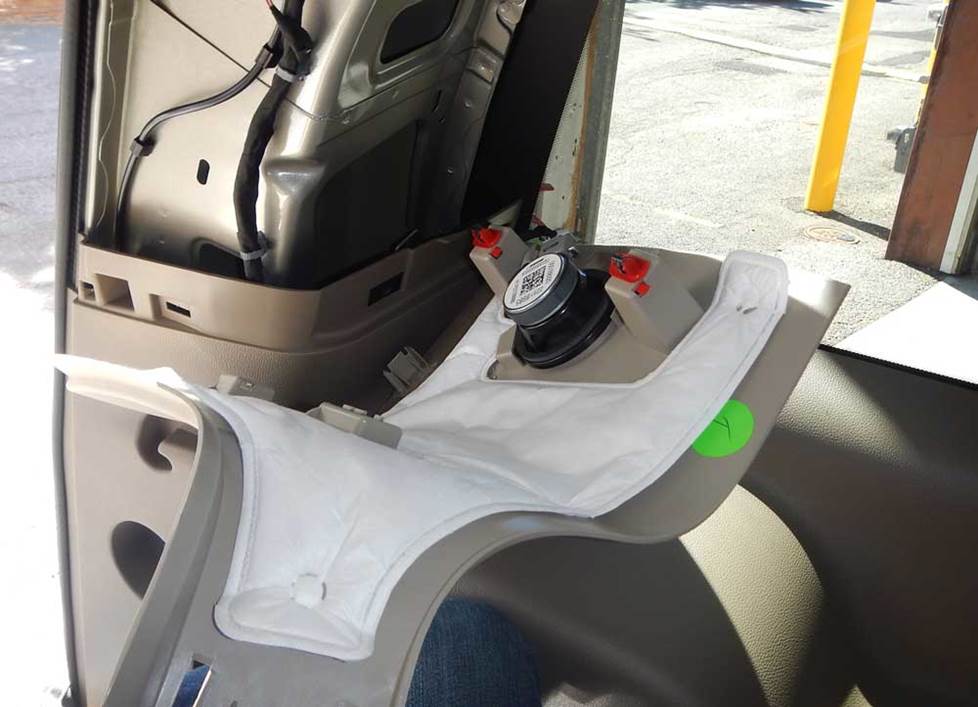
This center dash speaker is part of the Bose CenterPoint system (Crutchfield Research Photo)
Removing the center dash speaker (Bose CenterPoint only)
The top-shelf Bose CenterPoint system includes a 3-1/2" center dash speaker. It’s quite easy to get to and replacement speakers are available.
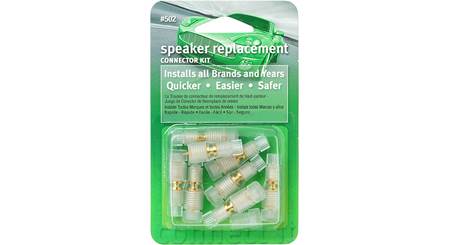
On the other hand, there are no speaker wiring adapters available for this location, so you’ll need to splice, solder, or use Posi-Products speaker connectors to install your new speaker.
Tools needed: Panel tool, 7mm socket, ratchet and extension

All stock systems include speakers in the dash corners (Crutchfield Research Photo)
Removing the corner dash speakers
All systems include 2.752" corner dash tweeters, and there’s a nice selection of aftermarket speakers that’ll fit in these locations. Removal and replacement are generally uncomplicated, but there’s no speaker wiring adapter available, so you’ll need to splice, solder, or use Posi-Products speaker connectors to connect to the factory wiring.
You'll need speaker mounting brackets to install your new speakers, and we’ll include them with your Crutchfield speaker purchase. Those brackets will only work with tweeters that can be flush-mounted, so you'll need a hole-saw drill bit to flush-mount the tweeters into the brackets and fit under the factory grilles. If you have questions about this, give us a call.
Tools needed: Panel tool, 7mm and 10mm sockets, ratchet and extension
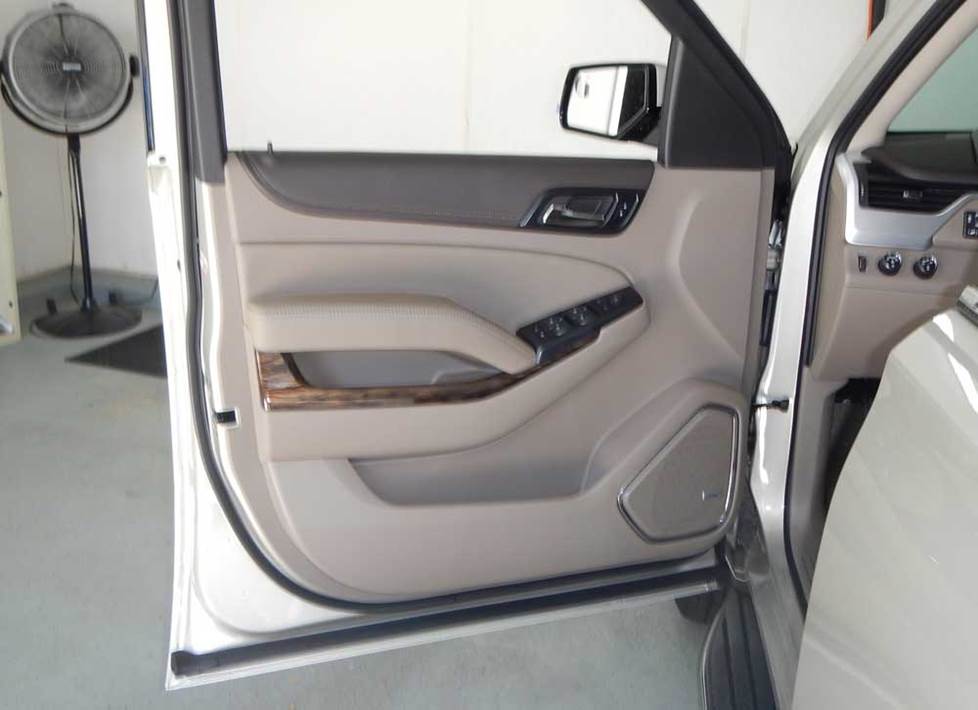
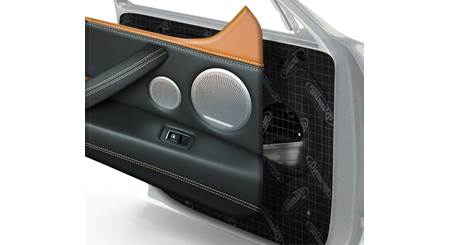
You'll need to remove the door panels to replace the front or rear door speakers (Crutchfield Research Photo)
Removing the front door speakers
There’s no shortage of aftermarket upgrade options for the 6"x9" front door speakers. There are custom-fit speakers designed to fit your vehicle, plus a nice variety of same-size, 6-1/2", and 6-3/4" models.
You’ll need to remove the door panels to access the stock speakers, and while that’s not hard to do, we recommend patience and care while you’re doing it. A quality panel tool will definitely help.
Upper-level systems feature low-impedance factory speakers, so replacing them with 4-ohm aftermarket models will result in lower volume levels. Keep that in mind when you’re shopping and look for 2-ohm models.
In many cases, you’ll need speaker mounting brackets to install your new speakers. If they’re needed for your installation, we’ll include them with your purchase.
Once your new speakers are installed, test to make sure they’re still working before you put the doors back together. Check that the door and window operations are functioning properly and also make sure there aren’t any wires getting in the way of anything.
Tools needed: Panel tool, small flat blade screwdriver, 7mm socket, ratchet and extension
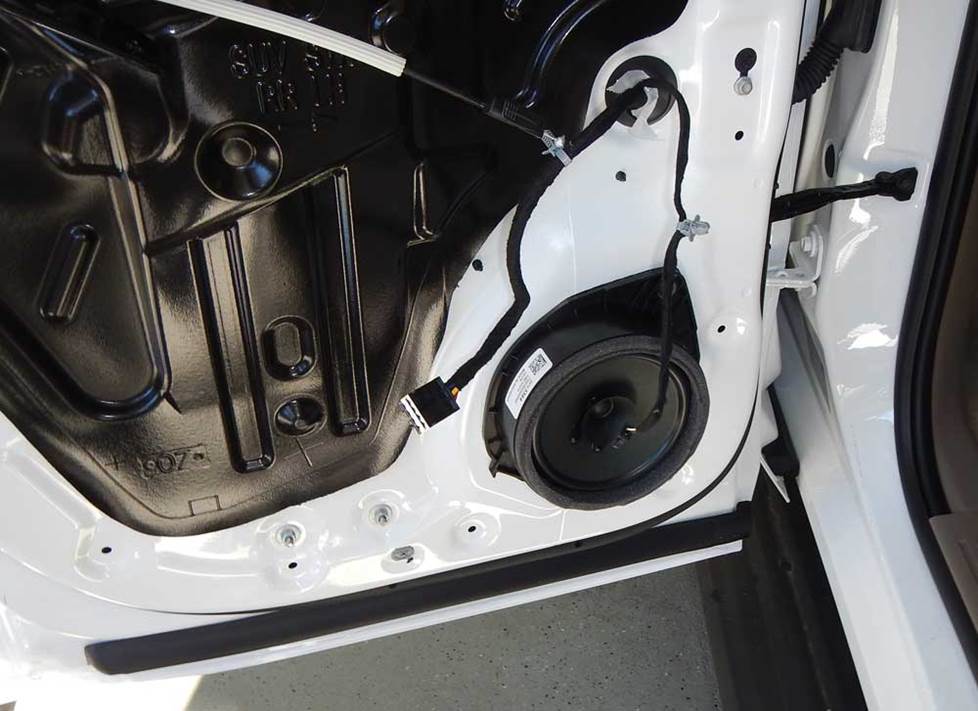
The rear door speakers are 6-3/4" models. You'll have plenty of aftermarket speakers to choose from. (Crutchfield Research Photo)
Removing the rear door speakers
In the rear doors, you’ll find 6-3/4" factory speakers that can be replaced by same-size or 6-1/2" models. The removal/replacement process is very similar to what goes on with the front doors, so if you can do that, you can do this.
You’ll need mounting brackets to install some aftermarket speakers, and if so, we’ll include them with your Crutchfield speaker purchase. In some cases, there’s no speaker wiring adapter, and if that’s the case with your vehicle, you’ll need to splice, solder, or use Posi-Products connectors. Don't worry, we'll let you know when you order your speakers.
Tools needed: Panel tool, small flat blade screwdriver, 7mm socket, ratchet and extension
The Bose system includes these rear pillar tweeters (Crutchfield Research Photo)
Removing the rear pillar speakers (Bose)
The Bose-only rear pillar speakers are 2.344" in diameter and have a 12.5-ohm impedance. Due to that impedance figure, finding appropriate aftermarket replacements will not be easy. Standard 4-ohm models won't sound great here, so unless the stock speakers are blown, you might want to just leave them in place.
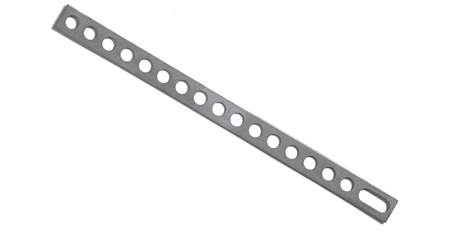
There aren’t any same-size speakers that will fit anyway, but you can use hot glue, silicone, or our universal backstraps to install smaller tweeters back here. There’s no speaker wiring adapter that’ll work either, so you’ll need to splice, solder, or use some more Posi-Products connectors.
To access these speakers, you’ll need to remove the rear pillar trim. While that’s not terribly hard to do, you’ll definitely want to work carefully and use your panel tool gently.
Tools needed: Panel tool, small flat blade screwdriver, 7mm socket, ratchet and extension, Phillips screwdriver
(Probably not) removing the Bose center console sub
The Bose-only factory subwoofer deep inside the center console is an oblong thing that’s roughly the size of a 6-3/4" speaker. We’re just passing that along for your edification, really, since there’s not much that’ll fit here and just getting to this sub is a royal pain.
The entire center console must be removed in order to access the sub, and that’s a very difficult process even if all goes well. If all does not go well, you could easily damage your truck. For those reasons, we don’t recommend even attempting to do this job yourself. If you absolutely must replace this sub, you really should turn the job over to an experienced car audio installer.
Tools needed: Panel tool, Torx T-15, 10mm and 1/4" sockets, ratchet and extension — all of which are things a professional installer will have
Read our Car Speakers Buying Guide for more information.
Shop for speakers that fit your Chevrolet Suburban LS
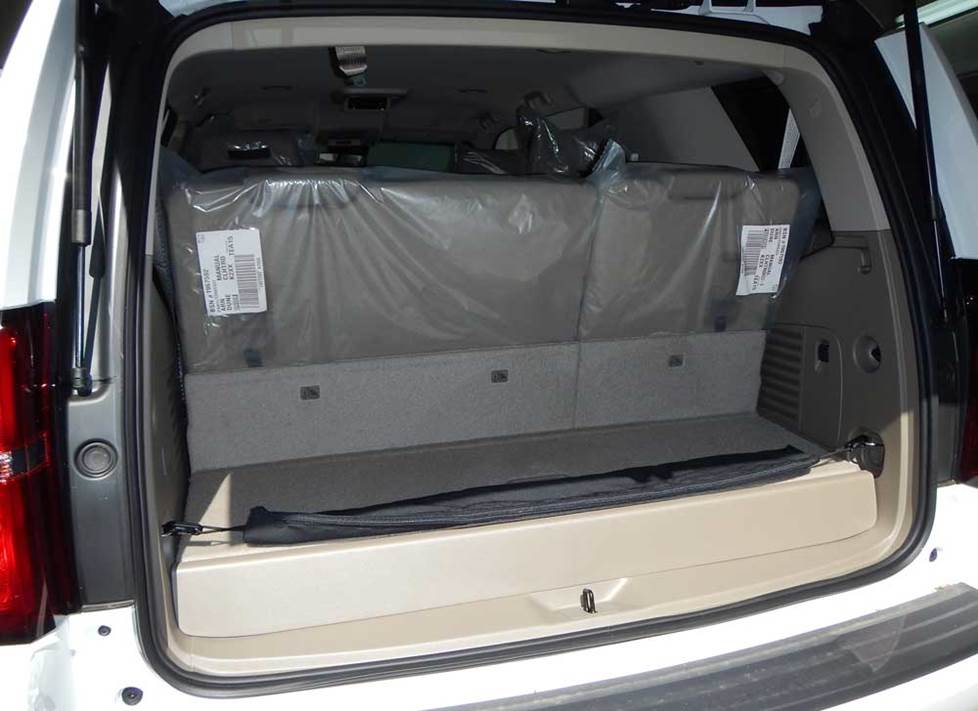
There's room for a sub back here, even with the rearmost seats up. When you put them down, there's even more room. Obviously. (Crutchfield Research Photo)
More bass in your Suburban, Tahoe, or Yukon
Pointing out that there’s room for a subwoofer enclosure in this truck is like observing that there’s room for this truck in a strip mall parking lot. Yes, everyone knows that.
The amount of space you choose to use, however, depends on how you use your truck. We measured it below the cargo cover with the third row seats in the “up” position and came up with dimensions of 49"W x 14"H x 31"/33"D. Obviously, there’re a lot more room with those seats down.
If you frequently need all that room for cargo and stuff, you might want to consider a more compact powered subwoofer.
Learn more about building a bass system in our Car Subwoofer Buying Guide.
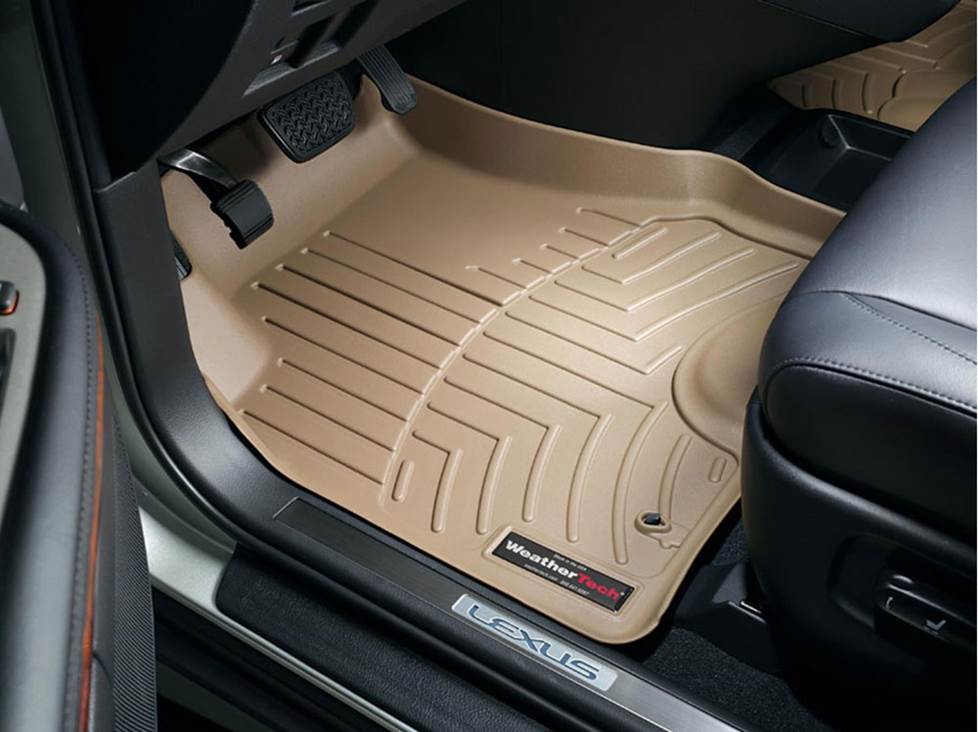
Protect your truck's carpeting with a set of custom-fit WeatherTech FloorLiners
Other options for your truck
The aftermarket offers an amazing variety of other ways to improve your SUV. Here are some of the ways Crutchfield can help.
Protect the carpeting
If you're using your truck as intended, it's probably going to get dirty every now and then. Keeping your vehicle in great shape really helps retain resale value, so protect your carpets (and your investment) with a set of custom-fit WeatherTech floor liners.
Sound deadening
Like most big, boxy SUVs, these trucks can get a bit loud at speed. To combat wind noise and road roar, you can install Dynamat in the doors and (if you install a big sub) rear hatch area. This sound-deadening material will keep the noise out and allow you to really enjoy your music.
Remote start and security systems
Adding remote start capability to your vehicle lets you warm it up in the winter or cool it down in the summer. The iDatastart system is incredibly convenient and makes it easier than ever to install a remote start system, so we highly recommend it. The module requires a vehicle-specific T-harness (sold separately) to connect with your vehicle's computer, security, and ignition systems, so we ask that you call to order so that we can make sure you get the right harness for your ride.
You can also talk to your Crutchfield Advisor about a security system. They’re not as easy to install (we usually suggest letting a professional do the job), but we can help you choose a system that’ll work in your vehicle.
Let's get started!
Ready to shop? Use our vehicle selector to find the gear that will fit your car or truck. If you have questions of your own, give us a shout via phone or chat.


Comments (0)
Please share your thoughts below.